LET THE BREAD MACHINE KNEADING BEGIN!
Kneading bread dough (Google it if you have no idea what that means) strengthens the gluten strands in flour that give bread structure and make it light and airy. Bread machines do it well!
Until recently, I never spent much time with my bread machine. In fact, for years, I didn’t have one. The first one, a gift from my family, spent most of its time inside the cupboard. I wasn’t at all impressed with it.
In recent years I attempted to regularly make homemade bread, but the results were inconsistent and even the best loaves were so-so. A few were light and airy, but most raised very little and had the texture of a brick.
Still, the desire to make my own bread waned but never disappeared, popping up on my radar again when I was working to keep processed and boxed food out of my cupboard.
This time, after hearing a friend talk about her bread machine experiences, I purchased a bread machine, in December, a time when weather conditions often kept me and my husband confined to our home. I had plenty of time to “play” with the machine.
If the only recipes you’ve ever tried in a bread machine are those that came with the machine, you’re really missing out. I attempted several loaves with the “dump it all in” method, but results were disappointing.
After nearly a dozen tries, I came up with a method that allows you to quickly and easily mix, raise and bake bread dough, with consistently delicious results. I have not purchased bread since I bought the machine.
The reason the bread machine is like a right hand helper to me is the kneading. My bread machine has two 15-minute kneading cycles. Even if I was ambitious enough and had enough time to knead my dough that long, I couldn’t do the thorough job the machine does. It has become my irreplaceable baking partner when it comes to making bread!
I also searched hundreds of websites for easy, delicious bread recipes.
In recent years I’ve found helpful instruction and tasty recipes at King Arthur Flour (www.kingarthurflour.com), and that’s where I found my go-to bread machine recipe. This is their recipe with my instructions. When you use their bread flour (or at least some brand of bread flour) you will produce the lightest, tastiest bread that looks almost too beautiful to eat!
My keys to successfully baking bread include:
- Use fresh ingredients.
- Get liquid ingredients to a temperature range between 100- and 110-degrees Fahrenheit.
- Keep all equipment warm to maintain dough temperature.
- Use a machine to knead the dough.
The original instructions for this bread called for adding all ingredients to the machine – as most bread machine recipes do. However, my greatest loaves have been produced when I wove in some old-time bread-baking steps. And it doesn’t take that much time. I can prepare all the ingredients and slip my freshly-baked bread out of the oven in just over 2 hours. You can too!
You’ll find King Arthur’s recipe here:
The recipe’s 1 ½ to 2-pound loaf calls for:
1 cup lukewarm water
1/3 cup lukewarm milk
3 tablespoons butter
3 ¾ cups King Arthur Unbleached All-Purpose Flour (I always use King Arthur Bread Flour, but that’s optional)
3 tablespoons sugar
1 ½ teaspoons salt
1 ½ teaspoons active dry yeast or instant yeast (I use instant)
My method:
Measure the 1 cup of water – very hot tap water -into a 2- or 3-cup utensil. Add the milk. Add the sugar, stirring to dissolve and blend all ingredients well.
Using a digital thermometer, test the temperature of the water-milk-sugar mixture; you want it to be between 95and 105 degrees Farenheit. If it’s too hot, allow it to cool to the right temperature before stirring in the yeast. If it’s too cold, I pour it into a pan and heat it up – it won’t take much heat to get it to the right temperature range.
Once the liquids are in the right temperature range, stir in the yeast until the majority of it is dissolved. Set the mixture aside. The yeast will begin to work, creating a foamy cap on the liquid.
Measure all the flour into a bowl/measuring cup. Add the salt to the flour and stir to blend it in.
Slowly melt the butter. I melt mine on the stovetop because I’m not a fan of microwaves, but suit yourself with this.
Be sure your bread machine pan has been warmed – especially when outside temperatures are cold.
Once you see the foamy cap on the yeast mixture, use a spatula to pour it into the bread machine pan. Carefully add the flour to the bread machine pan. Finally, add the butter, using a spatula to ensure you get the full measure. You probably could pour the butter into the yeast mixture; my best results have come from adding it last.
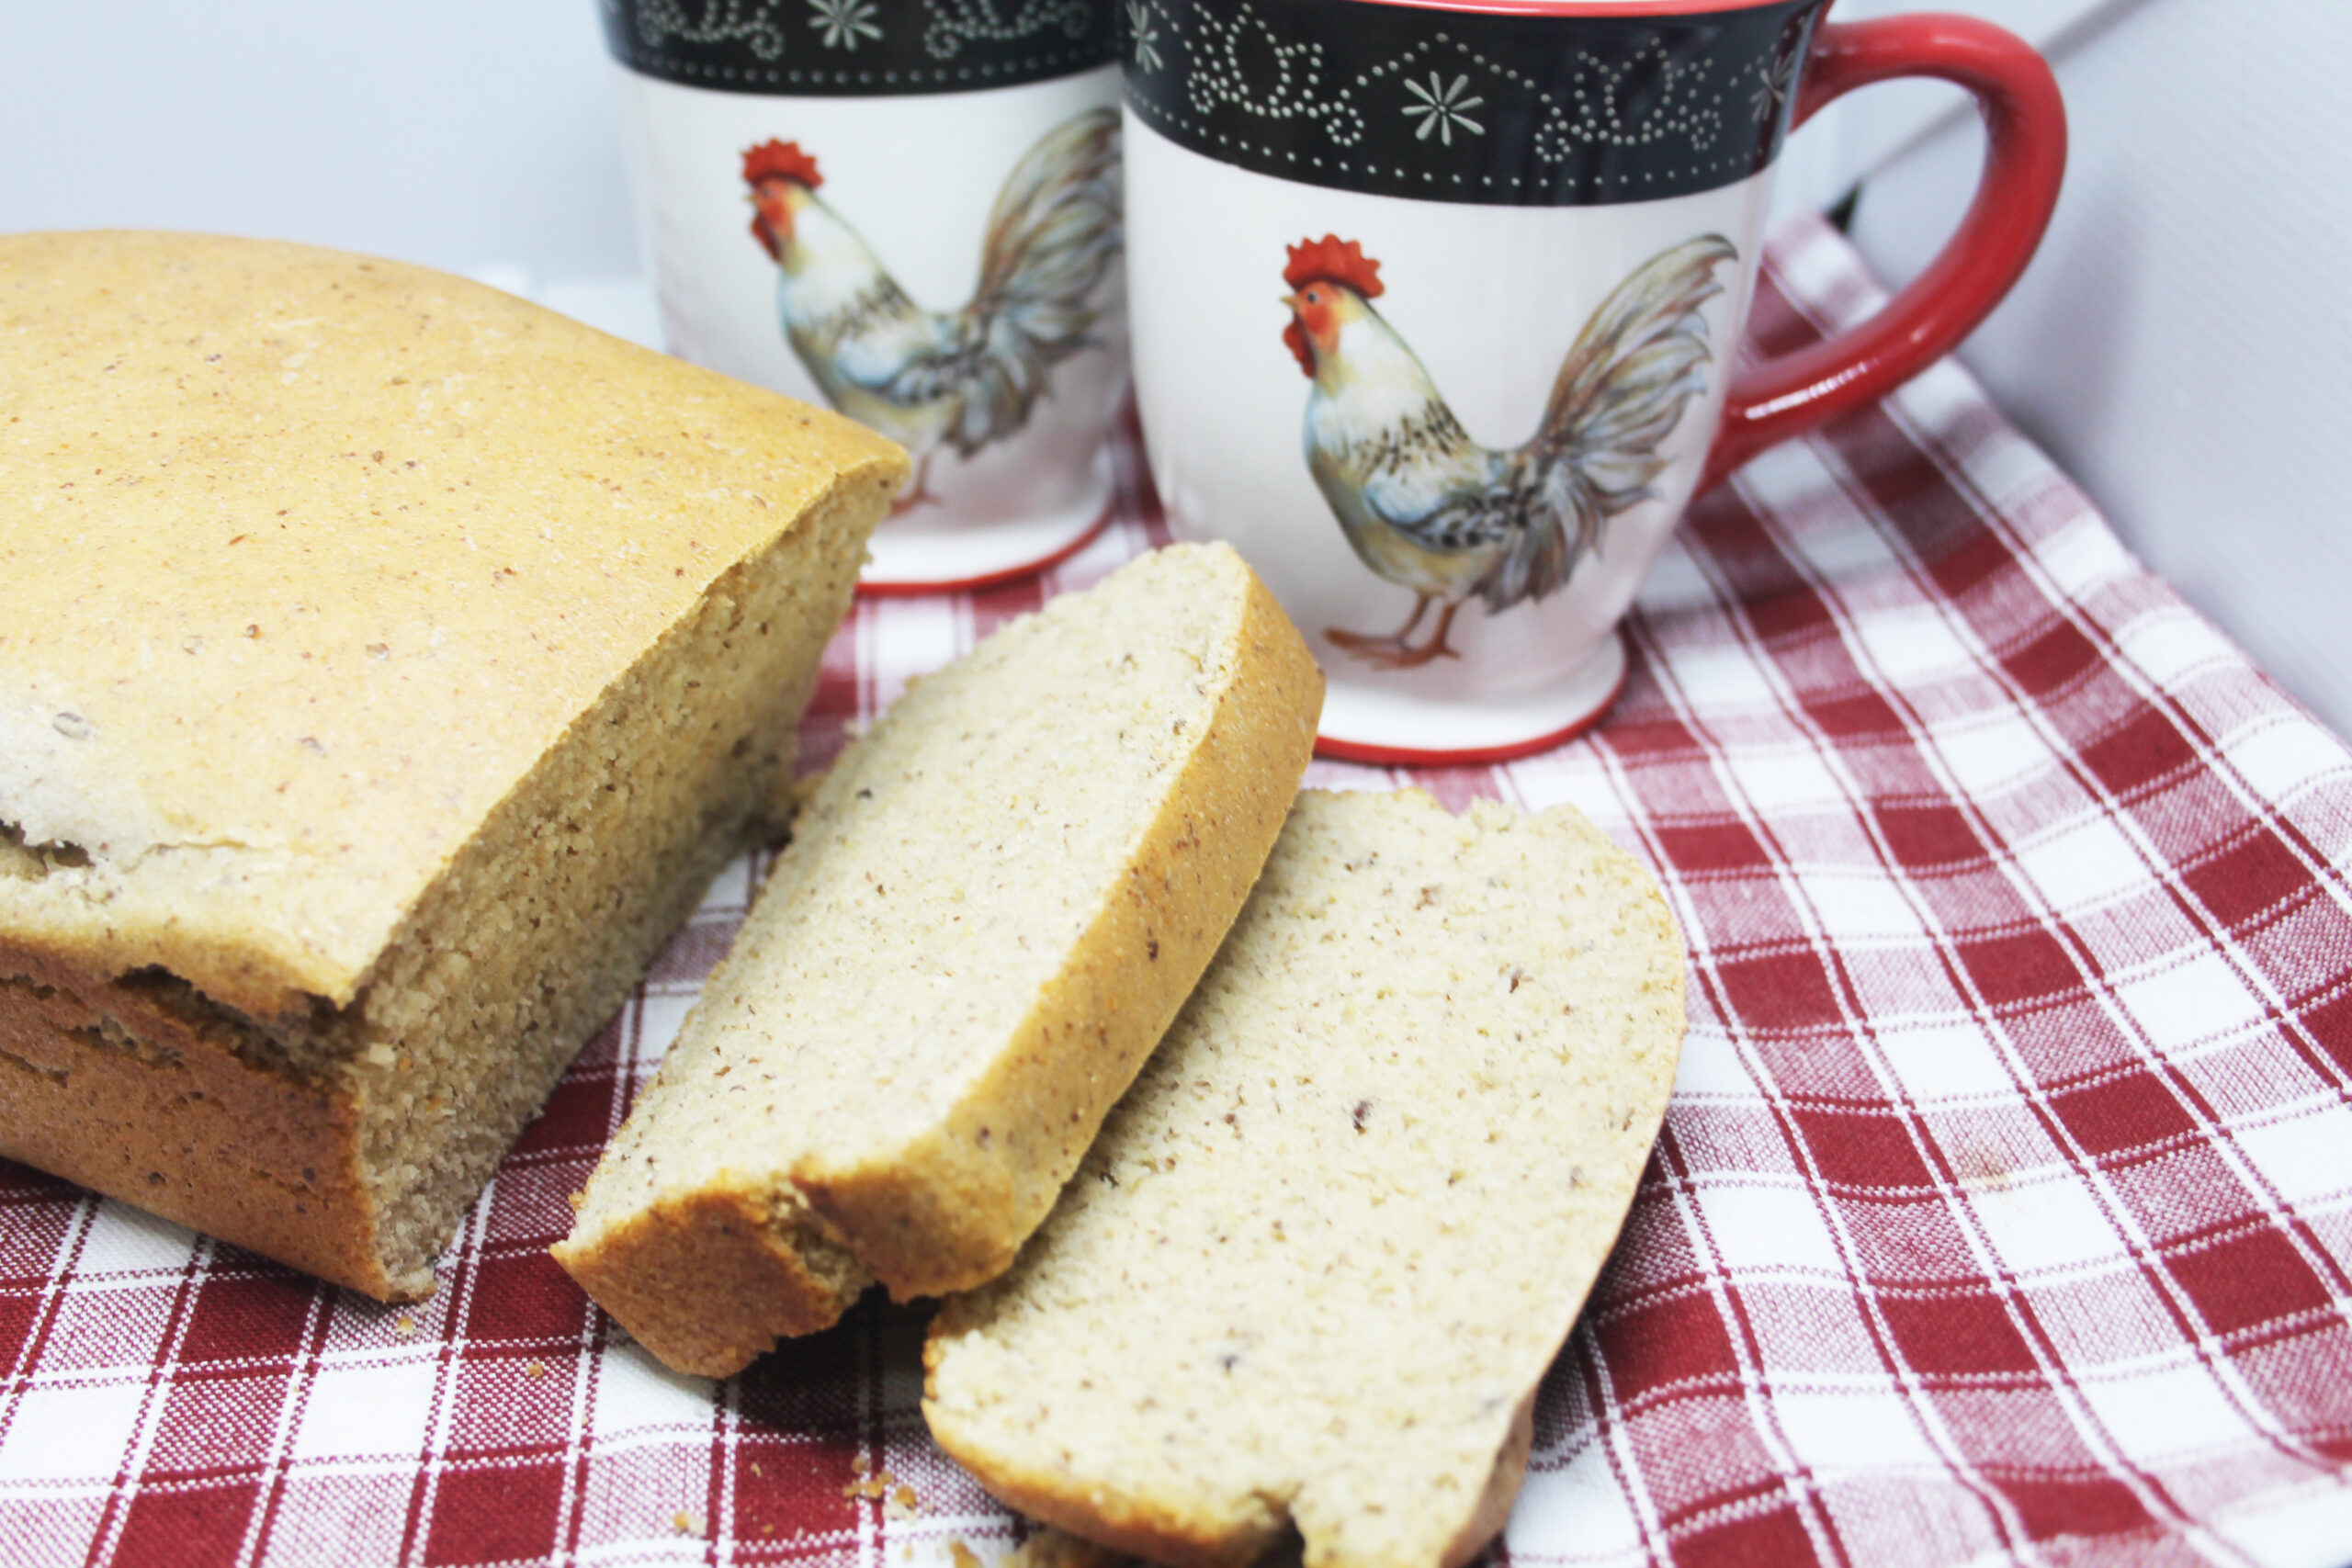
Start the machine. It will mix and knead the dough, allow it to rest, then knead it again. My machine takes about 40 minutes to complete two kneading cycles. At the end of the second cycle, I remove the dough from the pan (it might be a little sticky so butter your hands), place it in my oven, cover it with a tea towel and allow it to raise for about 30 minutes. Baking time (at 350 degrees) takes about 40 minutes. Remove it from the oven, and place it on a cooling rack. It’s best to allow it to cool for about 5 minutes before you cut any slices, but you may not be able to wait that long!
Eating the fresh-baked loaf – doesn’t take long at all!
My bread machine – a Hamilton Beach model – is very simple and cost around $50. If you have an old model bread machine, as long as it kneads the dough well, it should work just fine. You don’t necessarily need to bake it in the machine.
Looking for a book with more tips and techniques like this? Click this link to learn more about “30 Dakota Prairie Bread Recipes!”

